EzloPi ADC TM36 Example
NOTE: Before moving into this example it is very important to know about the device
registration, provisioning and converting the ESP32 device into an EzloPi device along with knowledge of the Ezlogic desktop app. All this information can be found in the EzloPi User manual document. in EzloPi User manual
document.
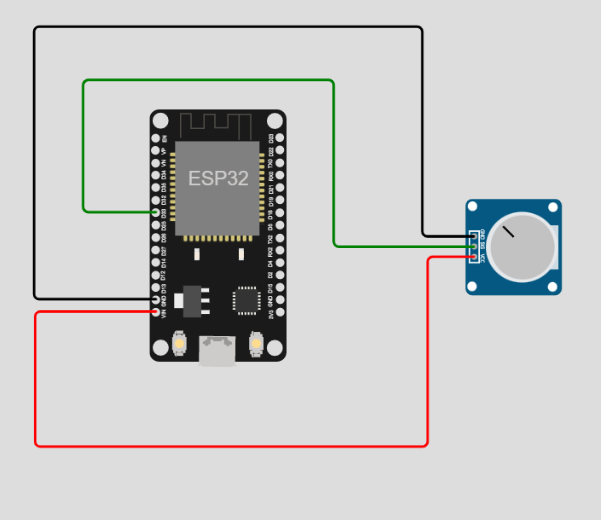
1 ESP32 and TM36 circuitry setup.
For interfacing and using the ADC TM36 temperature sensor we will need the following components:
1. An Analog Temperature sensor (NTC).
2. ESP32 device for converting it into EzloPi smart device
3. Power source for ESP32
2 Adding ADC TM36 or POT to the device from Ezlopi app:
Note that before moving to add any device a new device should be added and which should be accessible from Vera mobile app.
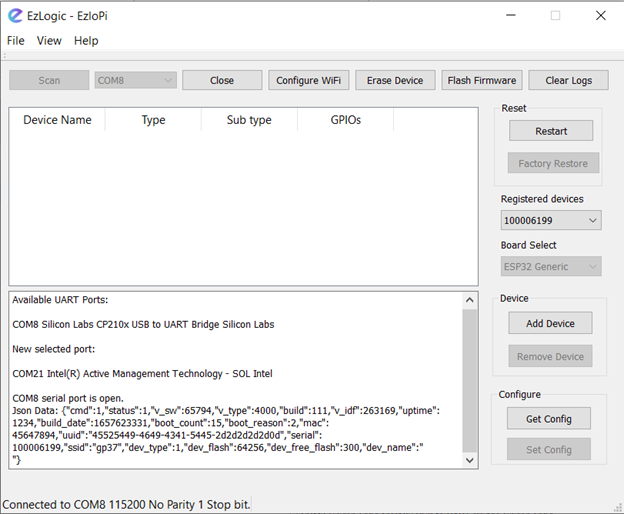
Device addition will be started with the button Add device in the UI as above. From the dropdown shown at 2 select Analog Input, furthermore, we need to configure the sensor we are using i.e. For now, it will be POT (generic).
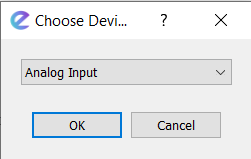
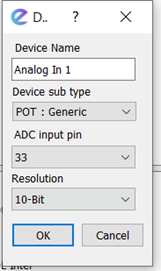
As in the above snapshots:
- Click on “Add Device”.
- Select Analog Input and a dialog box as shown above will appear.
- In that, write the device name.
- Select the device sensor name in the “Device SubType” which in our case is POT.
- Lastly, select the connected GPIO pin and resolution.
After it is configured, send the configuration to ESP32, which will command the device to add the ADC device to the ESP32.
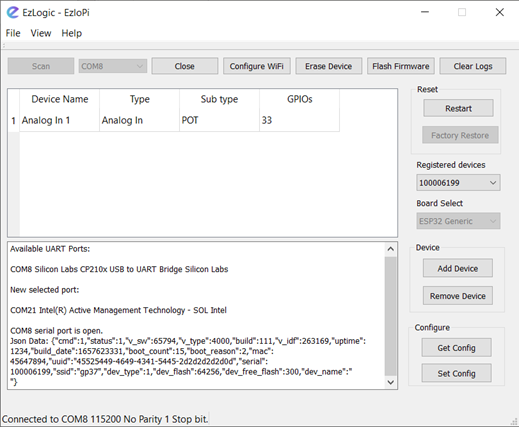
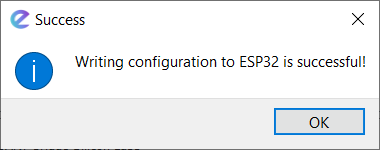
After configuration, the display will look like the above. Now Click on Set Config to send the
configuration to the device. Which if successful will be displayed by a pop-up as shown below.
.